Missing from the EXIF: Lightroom Tweaks to Midnight Fireworks
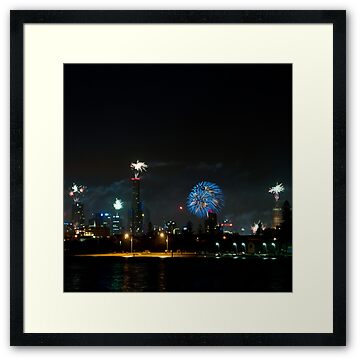
This post shows how I created this image via all the processing in Adobe Lightroom 3.4 ( The previous blog entry Missing from the EXIF: Midnight Fireworks covers the details of the actual shoot itself )
Most of the processing was done when I got home from the fireworks show, with only additional cropping the next day before it became the Redbubble version of the image.
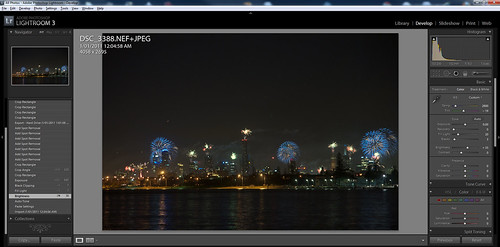
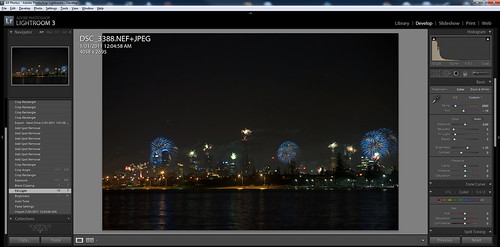
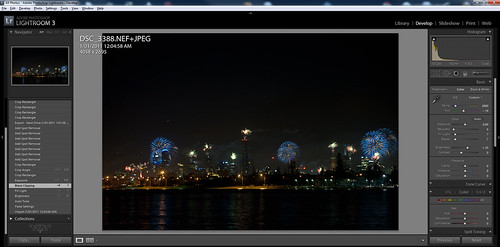
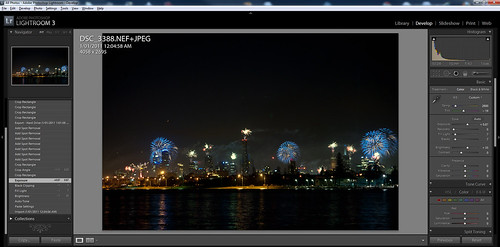
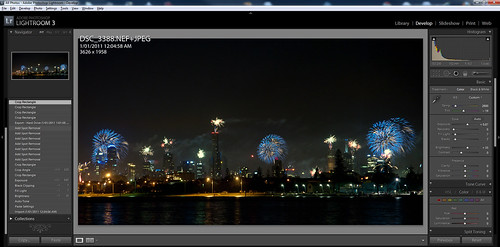
Each of these images opens into a new tab/window, in Flickr Lightroom mode so you can see all the details. These are untouched screenshots, so that you can see the whole process I went through.
This covers from 12:54:56am when I opened imported the image to Lightroom, to 1:01:58 when I exported the image for uploading to Flickr.
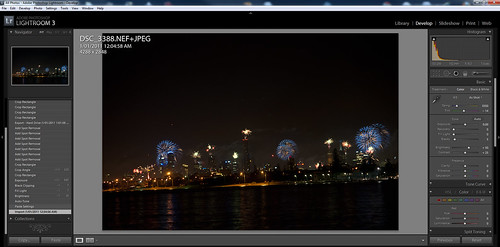
Stage 1: The Raw Image. Shoot RAW, if you shoot JPG once you start pushing an image you will run into its limitations. RAW as the digital negative is way more forgiving. Further as Lightroom is non-destructive on your RAW files, you can tweak till your heart is content, and still go back to the original if ( in my case when ) you go to far.
Stage 2: Rotate and White balance. – As all the images from the start of the show to the finish were in the same light, and the camera was fixed to a tripod, I tweaked one image quickly for rotation and balance. Then in Lightroom, copied only those develop settings, then pasted them to all the images. ( Batch processing even small parts of a job like this is a great way to speed up developing. )
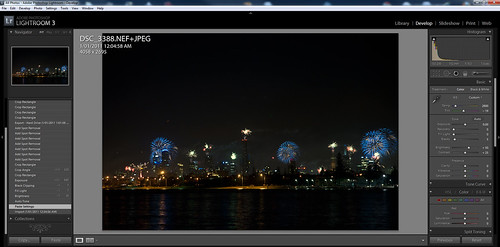
Stage 3: Autotone. – I never like how many tools AutoTone images. To my eye, they always over expose the image and it always end up washed out. But it is a great place to start. If you treat Autotone as a starting point, then you are o.k… it never should be an end point. Also I find, at least with my Nikon NEF (RAW), that the image always looks insipid, especially bright colours. So expect to have more work after using this feature.
Stage 4: Brightness. – First thing to fix after the AutoTone, is brightness. This was an image taken at midnight, I want the fireworks to standout, not the sky, or the water. In this case, even a small reduction in brightness, brings the fireworks out of the sky.
Stage 5: Fill Light. AutoTone also introduces a fill light. Great for bringing objects out of a shadow. But once again, that is not what I was after. Drop the fill light right back for this style of image.
Stage 6: Black Clipping. Pushing the black levels up, pulls the bright colours of the fireworks out of the background. Also a small increase in black levels can hide a multitude of sins. Be careful not to push it to far, as it can go from forgiving to punishing an image very quickly.
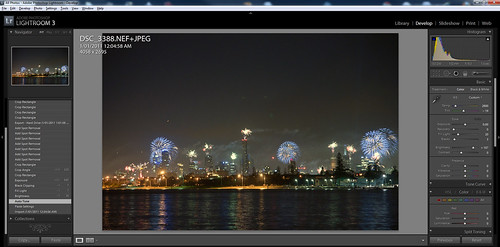
Stage 7: Exposure. Here I pushed the Exposure of the image up just a fraction. Suddenly the colours that were a bit dulled with the Black Clipping and Fill Light, push back up, giving the image its vibrancy once more. ( Also don’t be afraid to play with the Vibrance and Saturation modes in the Presence panel, these can help lift an image. )
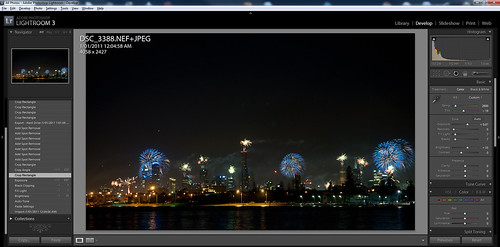
Stage 8: Crop – Possible the most important stage in this images development. One that can take a broad image redress the balance issues and transform it to a striking image. In the first instance it was to balance the image to the rotation that had been put on the image in import. Then I major crop to pull out a lot of the empty space that was the sky. Lightroom in crop modes gives you a nice rule of thirds crop tool. So I balanced the image around a series of thirds for the fireworks and the sky above the skyscrapers.
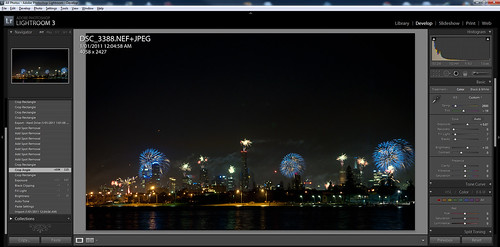
Stage 9: Angle Correction – Don’t you hate, when you fix and angle and it still isn’t right. Once the image was initially cropped, I could see the leading lines clearer and the horizon looked a fraction out.
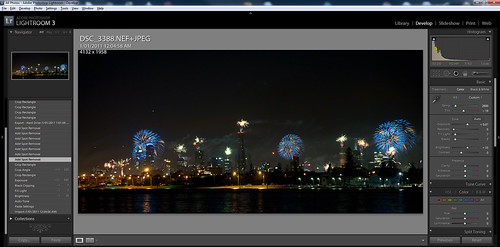
Stage 10: Lens Flare Removal – 3 annoying green dots appeared on the image. Small lens flares from the bright light of the fireworks. Lucky for me, these could be quickly and easily removed as they were in a black area of sky, and not hanging over an important part of the image. If they had been, it would have been a lot of work to clean these up. And Photoshop would have been the tool I would have had to switch to. The Spot Removal Tool can quickly pull pixels from a reference area and this only takes a few seconds to get rid of what really are just blemishes on the image.
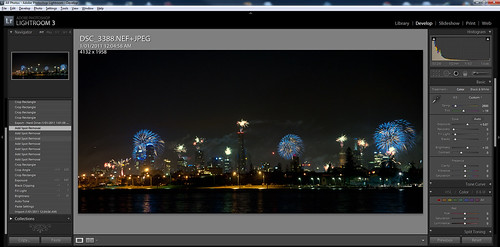
Stage 11: Aircraft Removal – Once again using the Spot Removal tool, I removed the 3 little traces of light that were in the image that were the aircraft that were filming (I presume), the show. At such a short exposure, the lines they made only served to act as distracting elements in the final shot.
Stage 12: Final Crop for Redbubble – Looking at this image the next day, I really wasn’t happy with the balance of the image. It had to much space on the left hand side, and it was still way to top heavy. Before uploading the image for sale, I tweaked the crop to balance the image better, and give it its final aspect ratio as well.
Anyway I hope you can see from above, that 5 min in Lightroom can take a good image and help to transform it up at least a few levels. Apart from managing my complete image libary, 90% of my images never leave Lightroom, I can do all the “digital developing” I need just in the one tool.
Remember if you buy a copy of this image… the money will help me buy more camera equipment… ( Next on the list the Sigma 50-500mm OS, which would have given me even betterer shots :-))


Discussion Area - Leave a Comment