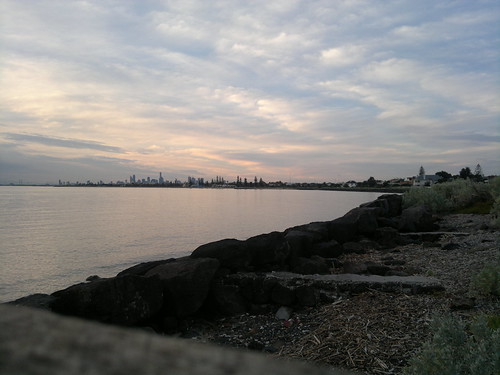
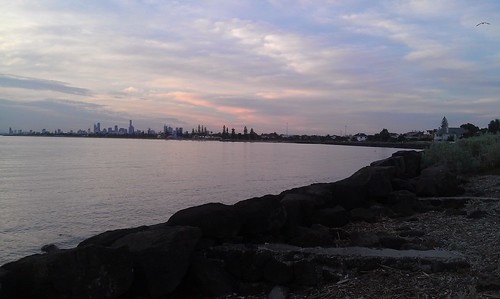
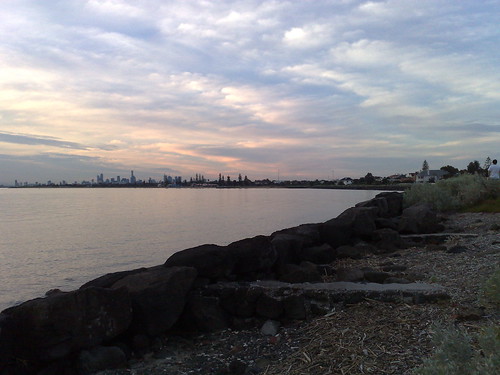
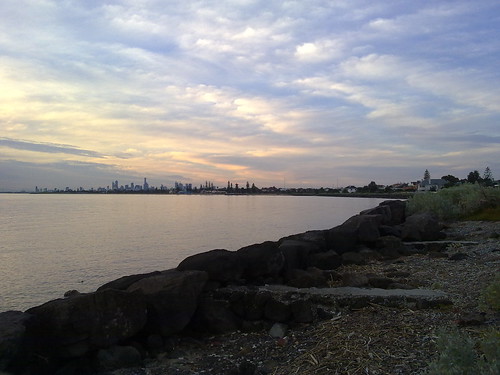
Entries Tagged as 'D7000'

While the #wolfcatcubs are Langoliers, they do make up for it…

For those that don’t remember Langoliers are creatures that eat time.

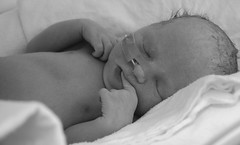
The Cubs are certainly that.  The last 3 months have both flown by and dragged by at the same time.  But now, they both are starting to find their own voice, and follow you around the room with their eyes.  So they are starting to be real people as well.

We have also decided that Erin is a south paw, just like her old man and Zara is right handed just like her mum.

But we take solace from the fact that their blood group is a rating system on how we did in creating them… Yes we got an A+.

So here are a couple of shots from the weekend….

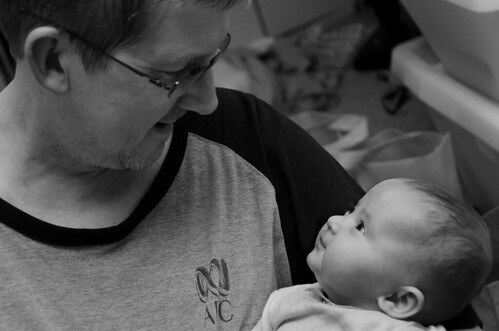
Hey dad, I like you….
Hey dad, I like you....

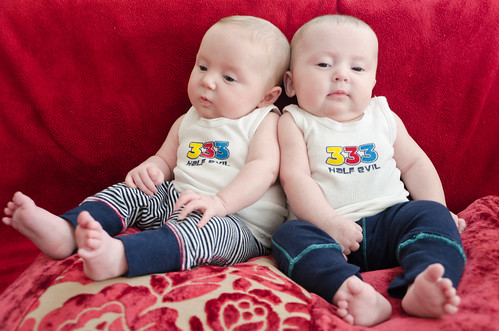
each of the #wolfcatcubs are only half evil… but together….
each of the #wolfcatcubs are only half evil... but together....

a #wolfcatcub doing hard time already


And I am finally getting the hang of doing portrait photos… but still so much to learn about using a proper flash.  If only I had some time left over….

Stopping to smell the tech roses every now and then, thanks to #UARS

I admit, there is a long list of toys and next best things I am waiting for. Everything from the Nikon D4 to a holodeck, neither of which I will ever be able to afford mind you. This list goes to even more simple things, and by simple I mean cheaper such as the next great Android phone, or that Android Tablet that I really want, but thanks to the #wolfcatcubs will never get.

In this headlong rush to the next great thing, it pays to stop, catch a breath and reflect on some seriously awesome stuff that I and a lot of you have.

Saturday 24/09/2011 was that moment of pause for me.  At 2:45pm I jumped in my car (2000 model AWD Subaru) to head down to on a winning lotto kind of chance to get a photo.  The photo I was prepared to take was of the UARS satellite as it came crashing back down to earth. A Satellite launched via the Space Shuttle ( Retired 2011 )

It got me thinking on the 15 min drive to what kind of tech was I using. It started with the IVF #wolfcatcubs  (1980 for Australia )I had left with mrs wolfcat at home. Amazing tech and science right there before I had even left the house. Now sure IVF had been around prior to the launch of the Upper Atmosphere Research Satellite (UARS) in 1991, but it has taken leaps and bounds since then.

So I listened to my 80’s mixed CD in the car. Sure, CD’s were around before 1991, but the recordable CD had only been around since 1990. As for the fact I was listening to a collection of MP3 format songs, well they didn’t come out until around 1993. At least all my music was pre UARS launch.

Waiting for #uarsI get to my location which is my fav place to shoot from at the end of North Road, and grab my camera gear out of the car.  A Nikon D7000 ( Sept 2010), a 16.3mega-pixel DSLR (with full HD video), drop on my 150-500mm OS Sigma lens (2008) and turn on my Solemta Geotagger Pro GPS (2009) for my camera. So in under a minute I have turned on and got ready a swag of technology, most of which people in 1991 wouldn’t have even dreamed off.

I have two GPS devices on me at this point, one for the camera the other built into my phone, HTC Incredible S (2011). Note that GPS didn’t become fully operational until 1994 and it wasn’t until 2000 that GPS ‘Selective Availability’ was removed.  That is the little thing that saw GPS move from 50 meters of accuracy down to a few meters for you and me.

Being at a location where I am “the mayor” I of course used my 3g phone  (2003 in Australia) to check in on Foursquare ( 2009 ) to my location.  Then I fired up Twitter (2006) to follow in near real time the @UARS_Reentry account to get the info I need. Info I was able to get in near real time with no wires as it were.  But then I did check on the WWW (1990) on my home computer using ADSL 1 (8mbits) (2006) to get the info I needed before I left.

I fired up Google Skymap (2009) on my phone to check compass headings and location on the interactive realtime star map just to make sure I was looking at the right bit of sky and waited. I also checked real time weather satellites to check that the cloud cover would remain clear in my location for the time frame I was after.

Of course like all long odds, I didn’t succeed.  But I knew where to look when UARS had passed overhead and that it was time to go home.

Stop and think about just how much cool tech you have you right now…

I am still waiting for NASA to work out where it crashed of course, but it wasn’t over me, but I was thanks to the tech in my pocket prepared for it.


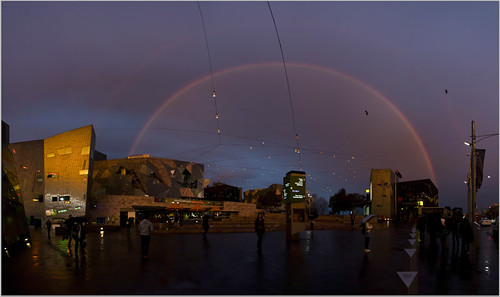
Missing from the Exif: Over the Rainbow – Federation Square

We all know that a huge percentage of photos are right time right place.  For me this was even more so yesterday heading home from work.

HTC - Incredible S versionThose that know me know I carry my DSLR camera with me nearly everywhere.  Yesterday proves why.  The best photo is always the one you get with the camera you have.  To that end it is preferable that you have a better camera. So walking through town on my way home mother nature kindly put on a very nice rainbow. ( This shot for example is from my phone)

I had no more than 10min to spend getting shots by which time the rainbow had gone.

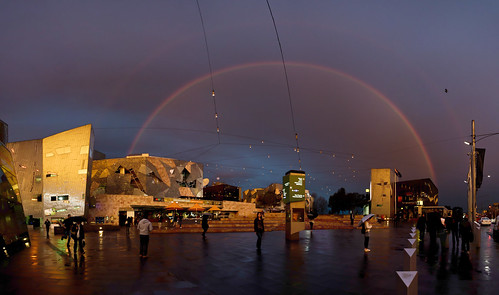
I used a Nikon D7000 with the kit 18-105mm lens.  When I could see where the rainbow was facing, I quickly walked up to Fed Square so I had the foreground element I was after.  Rainbows are all very nice, but framing a foreground adds an extra dimension to the shot.  I didn’t have my 11-16mm Tokina on me, so decided to go for the stitch later panorama series of photos.

When shooting panoramas it really helps to move the camera off Auto Mode as well.  This way your shot has even lighting across the whole image.  If you shoot them in auto, you will end with dark and light banding as each shot has a different exposure.  You can if you have time shoot in manual to pull up the dark parts of the shot if you want, but I was racing the setting sun with this one.

This shot had a bit of post processing as well.  Given I was racing time to get all the frames for the panorama as well. In Lightroom all that I did was just apply the lens correction to all of the shots.  This takes out the barrel distortion and vignetting as well making stitching much easier.  Then I exported all the full size images as JPG’s to Microsoft ICE.  I did try Photoshop, but ICE did a much better job of stitching.

Then came the fun part.  Images never look the same on a monitor as they do on the back of the camera.  In this case all of the Fed Square was to dark.  The sky was balanced how I wanted it, but not the people.

In Photoshop I created a Curves adjustment layer, then created a mask for the bottom half of the image. Then I adjusted the curves to help pull out the rich golden tones that I hadn’t pulled up in the raw shots.

Stage 2

All up, about 30 min of processing work for this shot…

I’m a really pleased with the final image and hope you are as well….

Over the rainbow - Federation Square


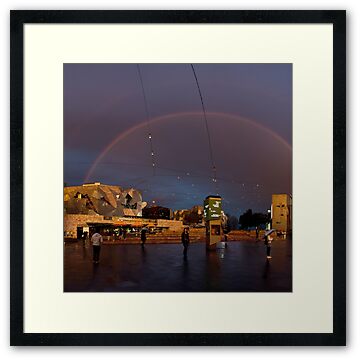
(P.S Now you can buy it as a large photographic print as well as in a mounted print…. )


Shooting Day Zero – A Guide to taking photos of your new baby.

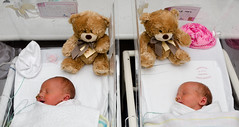
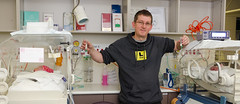
#wolfcatcubs Awww... unbearable cuteAs you may be aware and the large bags under my eyes from lack of sleep attest to I have just become a father to twins.  Now being a keen photographer as well, I wanted to make sure I captured their first moments in this world.  I thought whilst I still had a touch of sanity in my brain left I’d write down some pointers for taking photos, and tech..I’ll leave all the machines that go ping to the hospital of course.

You’ll need to do a bit of planning, but given that you get one moment to experience, well in my case two, you do kind of want to get it right.

Firstly, work out with the one doing all the work what she is comfortable with.  This will stop arguments down the track before you start sharing photos that she and possibly the rest of the world doesn’t want to be seen.  As a friend on Twitter told me..“What has been seen, can’t be unseen”.

Whilst the best photo you always get is the one with the camera you have on you at the time, there are still a few things to make life easier.  You will want to check that you can take photos to begin with.  Some places get a bit funny about it and you certainly don’t need to be having an argument with the doctors at that time

Meet #wolfcatcubs - ZaraNext, don’t take all your gear, you won’t need it. In my case I took a D7000, and 178-105mm lens and a 50mm f/1.8 and my SB700… Not even using the 50mm lens till much later in the day. Then make sure it is all charged, days in advance. If you have a real flash, take a spare set of batteries, and spare cards for the camera as well. If you wanted to use a friends camera make sure you are familiar with it, even in automode before hand.

Double check the timestamp on your camera is accurate.  You will want that to be correct in the years to come.

So, we have the gear, we have permission, and everything is charged.  Don’t forget the camera. I know of cases where this has happened.  If you have a checklist for hospital, put the camera etc on that list. Moreover, if you don’t have a checklist for hospital, make one.

<drum roll>The big day…. </drum roll>

Unless you are a professional photographer who can work under intense emotional pressure, put the camera on automode.  You don’t want to be stuffing around with settings at the time.  Make sure if you are shooting on a DSLR, shoot RAW, at the maximum resolution your camera shoots at.. This gives you the option later to tweak white balance etc with no impact on the images.

Most important at this point, pay attention to the moment.  Sure having the photos is great, but missing the moment for a photo, I think not.  I didn’t get some photos because I was in awe at what was happening, so should you be.

Then, we you get the chance, take LOTS of photos.  Babies move a lot, at least with a real flash on the camera, which of course you can bounce behind you in a white room nicely you will get some keepers. Try not to use the onboard flash, it creates nasty shadows and points into very delicate little eyes.  Another option is to shoot at a higher ISO and in shutter priority mode at 125 or higher.

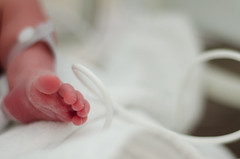
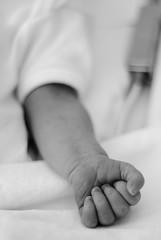
Erin puts her best foot fowardA few other tips for photos, you can act as a sense of scale.  You’ll soon forget how small they were, putting a little hand next to yours will give you that. Shoot the little details as well.  The hands, feet, ears and nose.  People look at these for family resemblance.

How hard can this dad thing be....If your camera is in fully automode you can hand the camera to the nurses or staff to get a photo of you as well.  You will want shots of you with them as well as them.

I did my 50mm shots of the girls about 4 hours after they were born once things had calmed down a little. Then I did the uploading of the images.  I took my EEPC Slate, which let me deal with the RAW files in lightroom, but onboard processing will do just fine as well for those first shots.

Hand #wolfcatcubsBlack and white photos of babies are done for a reason.  It evens out skin tones.  A new born babies skin can be anything from yellow to bright red.  Shooting RAW gives you more flexibility to process these post the event.

Then make a backup of all the images.  There are going to be images that if you lose, you will never get back.  That night I then made offsite backups of the RAW files as well.  You can never have too many backups.

So that covers your photos, but a few other things you are going to need.  If you have a laptop, take the charger for your smart phone as well.  It will run out of charge, you will be making a lot of calls. Get a cheap Bluetooth headset or a mic for your phone as well.  That way you can have a coffee and make all the calls you need to on the day without fretting about running out of charge and still having a hand free.

Finally at this point breath, relax and enjoy those memories of sleep.


HTC Incredible S – Camera Comparison

( due to my blog being nuked when my host went down… click here for my ASUS EEPC Slate Review )


One thing comparing the Incredible S to the Desire that has been dramatically improved is the camera.  Not just the bump from 5 to 8megapixels, but the processing software seems to have been given some real attention.  The Desire’s camera was “flat” in the shots it took and for me wasn’t worth using.

The Incredible S however is a very rich, vibrant.  It isn’t a DSLR ( which I carry with me nearly everywhere), but it is a great point and shoot camera for a wide variety of shooting environments.

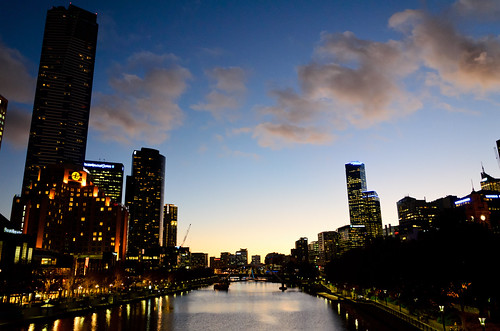
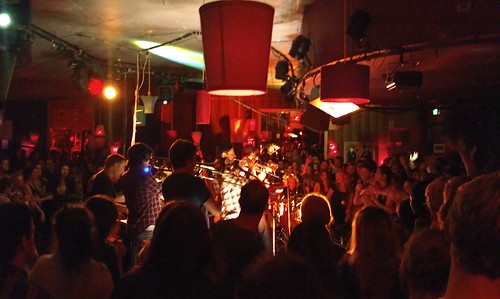
The camera does low light very well, and limits ISO Noise very very well. One issue with lowlight though is that it pushes more red into images than is necessary.  Whilst the lighting at the nightclub where I took the photos of the Cat Empire, was heavily skewed red, this red dominance also came out in the sunset shot that I took at the river, there at least I had the Nikon D7K to get a much more realistic colour balance out of the shot. Which also is a case of apples and oranges, one is phone, one is prosumer DSLR :-)

The flash on the camera is up to the task, but you will notice that the band shots don’t have the flash on, because I wanted photos of the band, not the back of people’s heads.  You might want to remember that next time you’re at a concert. The great thing is that the Incredible also remembers the last state the flash was on as well, even when you exit the app.  A nice touch, that means you can take photos quickly without having to reset the camera every time.

For reasons that are not knee bone is connected to the leg bone type of logic, if you are using the phone is being used as a WIFI hot spot ( which is great if you don’t have the USB cable with you, or you wish to share it with a few friends ), you can’t use the flash.  I’m sure there is a good technical reason for this, but I can’t think what it was.

I’d much rather that the effects vs the settings could have been switched.  Then I am a lot more of purist when it comes to photography anyway.  The face detection works really well, even if the subject is in the background of the image, and the cameras inherent depth of field gets everything in focus. White Balance etc all seem to work just fine but nested as they are, tweaking one item, such as white balance, involved more clicks as sub items take over the menu structure.

The geotagging feature is great to leave on, but is one that I would have given higher priority to in the menus.  I would love to be able to one click turn it off and on for photos as I went.  Photos from home for example would not be tagged or from a friends place, but out in public tag away is the way I like to shoot.  The GPS seems to get a fix very quickly, often one or two shots in a new location and they are tagged. A cursory look at images I have uploaded to flickr shows the location very accurately as well.

Sure, the camera has nice little effects, to be honest the only one I would consider using is the depth of field filter.  Even then unless it was something I couldn’t get a feel for a particular shot that I was after.  As a rule, and this applies to all photos that you take with your phone etc, don’t and I mean DON’T apply camera filters.  Why, because in 12 months time, or even the day after you won’t have the unedited version.  The photos off the Incredible should print really well, and unless you have the “clean” version you are going to regret not having it sooner rather than later.

But, words are words, images are images…  I let them do the talking… ( ok, with just a touch of voice over…. )

(All images link to full size flickr version )

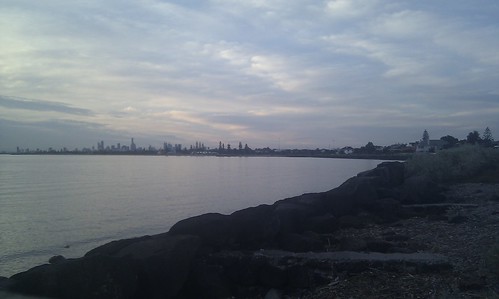
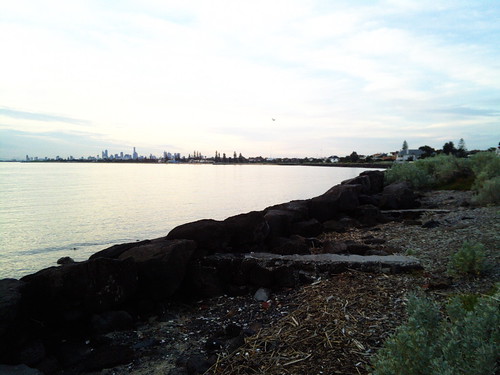
Dull Sunset Comparison
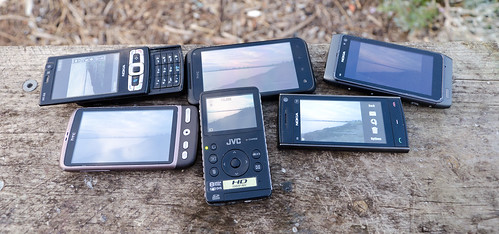
I am not a camera phone horder... just doing a review...

(Plus the Nikon D7000 that took the shot)

Nikon D7000
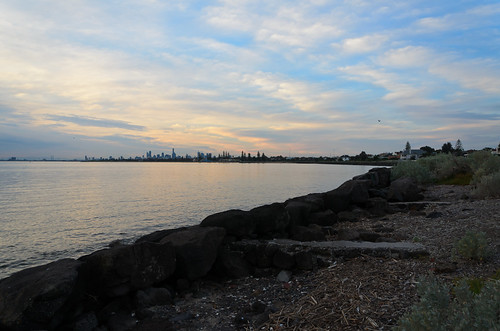
cloudy_sunset-nikon-d7k

Nokia N8

cloudy_sunset-nokia-n8

HTC Incredible S

cloudy_sunset-htc-incredible

Nokia N95-8gb

cloudy_sunset-nokia-n85-8gb

Nokia X-6

cloudy_sunset-nokia-x6

HTC Desire

cloudy_sunset-htc-desire

JVC GC – FM1

cloudy_sunset-jvc-gc-fm1


Xres Yres ISO Exposure Focal Length Aperture Width Height JPG Size Altitude Lat Long
Model – NIKON D7000 300 300 280 1/125s 18.00 mm F 5.60 4855 3216 6.4MB NO GPS
Model – N8-00 300 300 105 1/191.4s 5.90 mm F 2.80 4000 3000 1.4MB NO FIX
Model – HTC Incredible S 72 72 100 No Data 4.57 mm No Data 3184 1904 1MB 0 m S 37  53  35.05 E 144  59  17.76
Model – N95 8GB 300 300 100 1/500s 5.60 mm F 2.80 2592 1944 .77mb NO FIX
Model – X6-00 300 300 100 1/250s 5.20 mm F 2.80 2592 1944 .68mb 30.50 m S37  53  56.12 E144  59  5.34
Model – HTC Desire 72 72 55 No Data 4.31 mm No Data 2592 1552 .59mb NO FIX
Model – GC-FM1 72 72 100 1/109.9s 3.91 mm F 2.82 3264 2448 2.1mb NO GPS


Notes:

The order is how I judge the devices.

Unsurprisingly the DSLR wins :-) , Next is the amazing Nokia N8, which is simply amazing as a camera on a phone. But given the hardware the Incredible S was against, it did do very well.

DPI, the higher the number the better the print.  72DPI is great for onscreen, 300DPI is better for printing, this is reflected broadly in filesize.

The D7000 shot was taken in RAW and exported via Lightroom 3. I do have the Solmeta GPS for the D7000, but it wasn’t plugged in J, the other phones that didn’t get a GPS fix had not been used in sometime and were not already on, when I did the test.

Both the Desire and the Incredible S are lacking much in the way of EXIF data, so a full comparison of EXIF Data is not possible.  Either this is an ongoing firmware issue, or shows the limitations of the HTC Camera System.

Final point, remember that the Nokia N95-8gb is from 2007, so it is the oldest of all off the above devices by a number of years. Still the camera in that phone still stands up.

And here are some more shots from the Incredible S

Good light

macro-goodlight

Very dark room

macro-lowlight-incredibles

The Macro as I said is fantastic.  Add the touch the screen to move the focus point and you can get some great close up photos.  The text in these images is nice and crisp.

This is a pretty sunset….

HTC Incredible Sunset
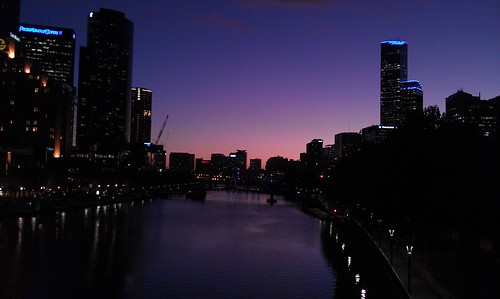
Sunset - HTC Incredible S

Nikon D7000 Sunset

nikon-d7k-sunset

As you can see from above, the HTC made the sky a lot pinker than it was.  Whilst most people wouldn’t care.. I do.

And now some night shots..

First from the HTC Desire
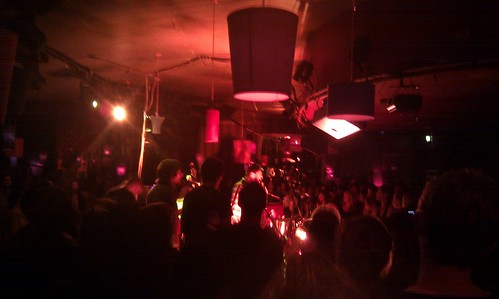
band_shot-htc-desire

Now two from the Incredible S ( at both ends of the zoom).
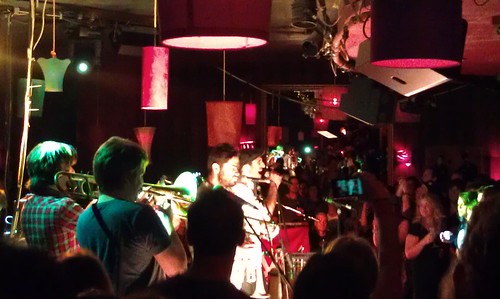
band-shot-htc-incredible-1

band-shot-htc-incredible-2

And thanks for getting to the end of this rather long post…. The camera as I said is a great point and shoot, and is a good phone camera.

Missing from the EXIF: Lightroom Tweaks to Contemplating the day that was

So I finally have a Nikon D7000 to play with.  Sadly it is not mine however, and I shall cry myself to sleep for a while over that.

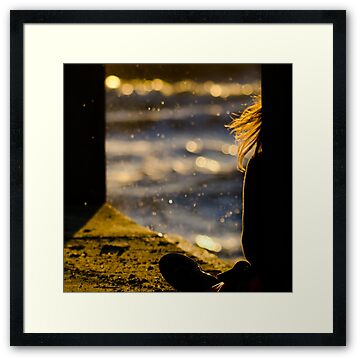
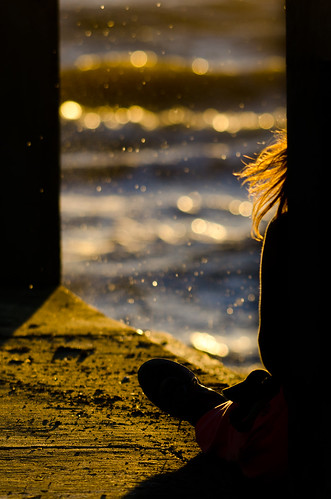
To put the camera through it paces I thought I would head to one of my usual spots, take just the Sigma 150-500mm lens and see what I could get. Whilst looking for shots, I walked back from the jetty a bit and found the perfect composure I was looking for.  I am a big fan of taking photos of people, where you can’t tell who the person is.  If you want to enter shots into competitions for example, they often want release forms for the subject.  Not having the subject identifiable fixes this issue.

I took 18 shots to get this one,whilst it is either the first or last shot that ends up being the keeper, this was in the middle of the series.  I was looking for a breaking wave and the girls hair to be flowing just the right amount. All the while I was kneeling on concrete to get the right angle for the shot as well.

Here is the Final Version of the Image as you can buy it on Redbubble

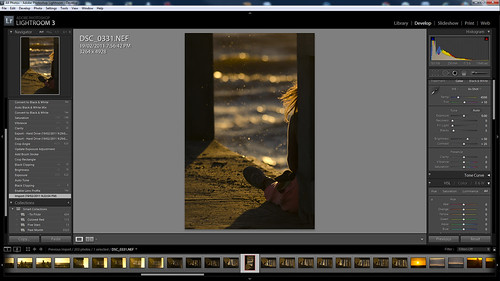
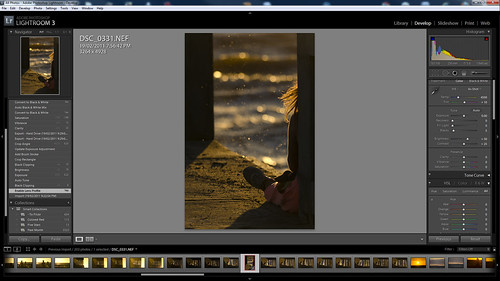
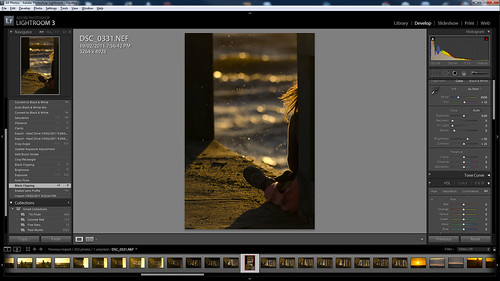
Each of these images opens into a new tab/window, in Flickr Lightbox mode so you can see all the details.  These are untouched screenshots, so that you can see the whole process I went through. You will notice a few extra steps, where I tried a few things, which didn’t work, then carried on, such as a black and white version. But I haven’t commented on them.

The time frame for this processing was just under 5 min of actual sitting in front of the computer time.

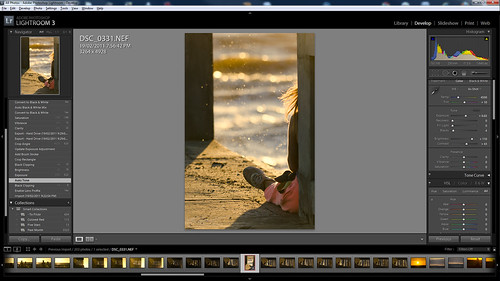
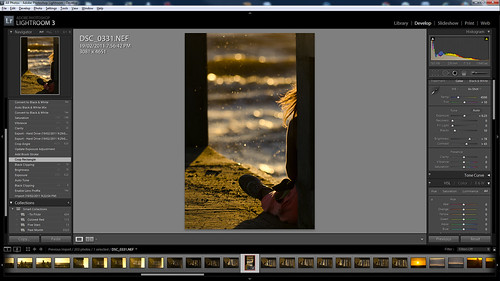
Stage 1: This is the Raw Shot. So, I know I have the composition right, but the colour balance and weighting of the shot isn’t quite what I was after…

contemplate-stage-1

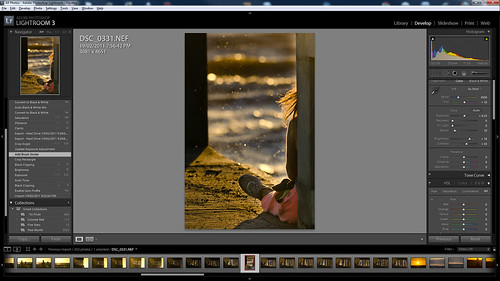
Stage 2: As my Sigma 150-500mm Lens is in the Lens, issues such as barrel distortion, vignetting and chromatic aberration can be fixed in one click.

contemplate-stage-2

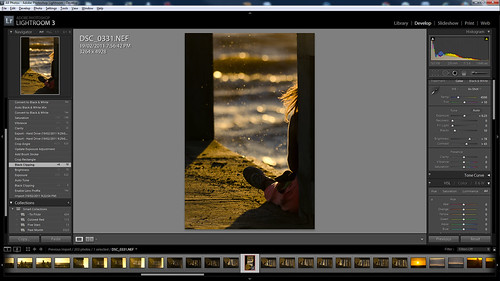
Stage 3: I knew I wanted to pull the blacks up in this image, so I did a quick tweak of the black clipping just to see if it was worth progressing with the image processing. Often, once you start processing, with an end result in mind, you will come across images that you just decide not to finish with.

contemplate-stage-3

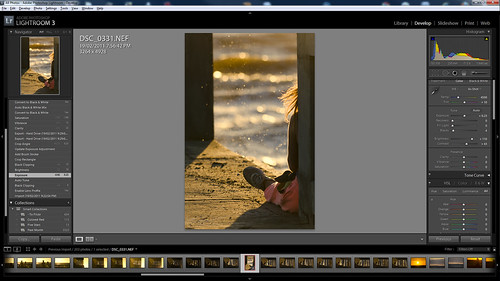
Stage 4: Ah Autotone… I like you as much as I hate you. It always overblows shots as far as I am concerned. I always end up pulling the shot back, but it can be a good quick fix to a number of issues.

contemplate-stage-4

Stage 5: And yep, the next thing after the autotone, is to pull the exposure back from the +0.65 that Lightroom’s Autotone did, back to +0.23. So some of the image is brought out, but not to much.

contemplate-stage-5

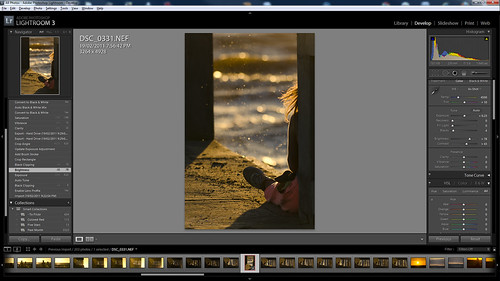
Stage 6: And like Stage 5, this was a tweak to pull the brightness down, so that the image is a lot more muted over all.

contemplate-stage-6

Stage 7: I needed to go back and pull the blacks up a bit more at this point, to push detail out of the shadows that had crept in so that your eyes follow the lines in the image.

contemplate-stage-7

Stage 8: Hand holding a 3kg lens of camera and lens in high winds whilst kneeling on concrete does of course mean your shot is never going to be perfectly straight. This was just a tweak to the rotation to line up the vertical elements.

contemplate-stage-8

Stage 9: This is a two stage process. Firstly using the Brush Stroke tool, I selected the girl, and the pole she was leaning against so that I could apply a filter directly to just those parts of the image. As Lightroom, remembers the last settings, it of course made them over exposed, but it is handy to see the shapes that I was covering.

contemplate-stage-9

Stage 10: Now I just reduce the exposure on the brush tool path, from 1 to -0.88, which drops the colour and the detail from the girl leaving a stronger shadow and removes the distraction of the details of her clothing, but keeps her hair and the rest of the image in balance.

contemplate-stage-10

Stage 11: Once you have finished doing the major changes to the balance of an image, what looked straight before may not look as straight again. So this was to fix the aesthetic straightness of the image.

contemplate-stage-11

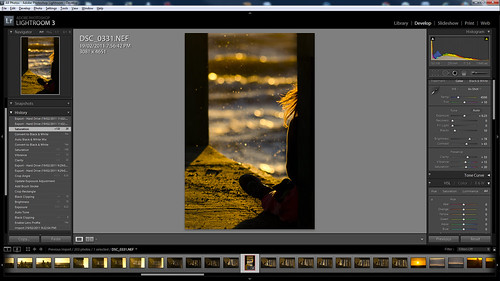
Stage 12: In all the above tweaks the golden colour had become a little washed out. So this was just a tweak to the Clarity and Vibrance to pull the image up a bit.

contemplate-stage-12

Stage 13: And to finish off, just a small push to the saturation to ensure the image colour and feel was as rich as I wanted.

contemplate-stage-13

And the Exif Data for the Shot:

Camera Nikon D7000
Exposure 0.002 sec (1/640)
Aperture f/5.6
Focal Length 250 mm
ISO Speed 100
Exposure Bias 0 EV
Flash Off, Did not fire
Date and Time (Modified) 2011:02:19 23:02:36
Exposure Program Shutter speed priority AE
Date and Time (Digitized) 2011:02:19 19:56:42
Max Aperture Value 5.7
Subject Distance 10 m
Metering Mode Multi-segment
Custom Rendered Normal
Exposure Mode Auto
White Balance Auto
Focal Length In35mm Format 375 mm
Scene Capture Type Standard
Gain Control None
Contrast Normal
Saturation Normal
Sharpness Normal
GPS Latitude 37 deg 53′ 28.29″ S
GPS Longitude 144 deg 59′ 6.89″ E
GPS Altitude Ref Above Sea Level
GPS Altitude 2 m
GPS Map Datum WGS-84
Creator Tool Adobe Photoshop Lightroom 3.3
Lens 150.0-500.0 mm f/5.0-6.3
Approximate Focus Distance 10

and the Flickr Version of the Shot…
Contemplating the day that was

11mm to 1000mm a slideshow

Flickr Gallery showing every lens combo I have from 11mm on my Tokina 11-16mm lens to my Sigma 150-500mm. ( updated with a 1000mm shot thanks to my 2x Kenko Teleconverter

Shows you the range that you can get with just a few key lenses in your kit. – The Distance to Eureka Tower ( the tall building I zoom in on ) is approx 8.5km as the crow flies.

Best viewed full screen.

( and for those who are on non flash enabled I thingys…  go to the Flickr Set here )

All Shots were taken on Manual Settings:

Camera Nikon D90
Exposure 0.001 sec (1/800)
Aperture f/9.0
ISO Speed 200

Lens used in order were

Tokina 11-16mm, Nikon 18-55mm VR, Nikon F1.8 50mm,  Nikon 55-200mm VR, Nikon 70-300mm, Sigma 150-500mm, with each lens taking a shot at both ends of its range.

Shots are not taken for aesthetic value, and neither did I have a proper tripod set up to ensure that the shots were perfectly lined up for focus point. ( A decent tripod is next on the list of things I need to buy )

Update

the 1000mm shot is taken in Automode on a D7000 a year later than the above shots from the same location care of a 2x Teleconverter.  The haze in the shot shows the limitations of long shots as well.