( due to my blog being nuked when my host went down… click here for my ASUS EEPC Slate Review )
One thing comparing the Incredible S to the Desire that has been dramatically improved is the camera. Not just the bump from 5 to 8megapixels, but the processing software seems to have been given some real attention. The Desire’s camera was “flat” in the shots it took and for me wasn’t worth using.
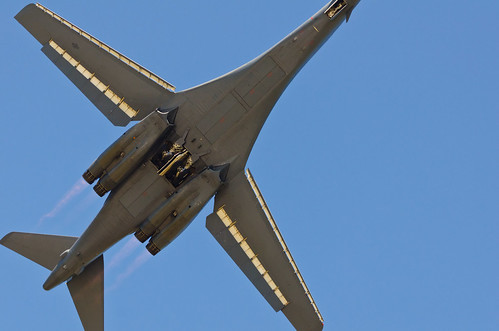
The Incredible S however is a very rich, vibrant. It isn’t a DSLR ( which I carry with me nearly everywhere), but it is a great point and shoot camera for a wide variety of shooting environments.
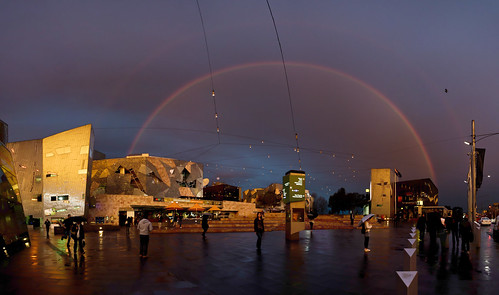
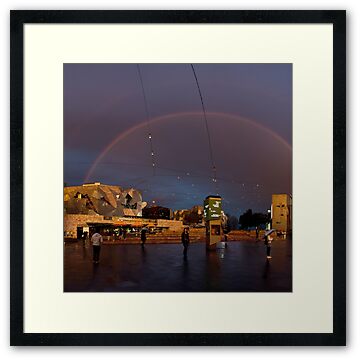
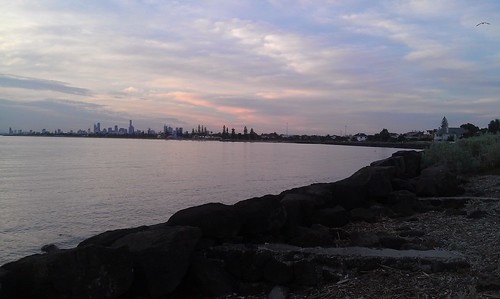
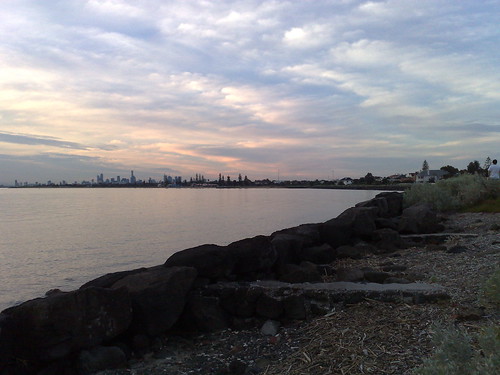
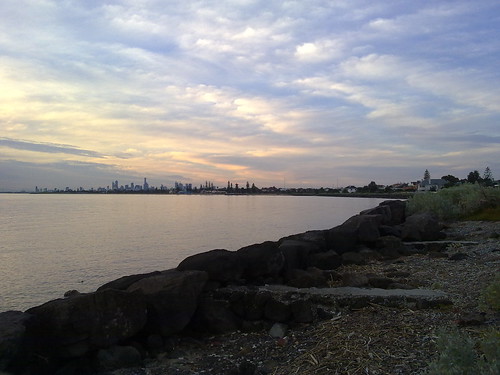
The camera does low light very well, and limits ISO Noise very very well. One issue with lowlight though is that it pushes more red into images than is necessary. Whilst the lighting at the nightclub where I took the photos of the Cat Empire, was heavily skewed red, this red dominance also came out in the sunset shot that I took at the river, there at least I had the Nikon D7K to get a much more realistic colour balance out of the shot. Which also is a case of apples and oranges, one is phone, one is prosumer DSLR 
The flash on the camera is up to the task, but you will notice that the band shots don’t have the flash on, because I wanted photos of the band, not the back of people’s heads. You might want to remember that next time you’re at a concert. The great thing is that the Incredible also remembers the last state the flash was on as well, even when you exit the app. A nice touch, that means you can take photos quickly without having to reset the camera every time.
For reasons that are not knee bone is connected to the leg bone type of logic, if you are using the phone is being used as a WIFI hot spot ( which is great if you don’t have the USB cable with you, or you wish to share it with a few friends ), you can’t use the flash. I’m sure there is a good technical reason for this, but I can’t think what it was.
I’d much rather that the effects vs the settings could have been switched. Then I am a lot more of purist when it comes to photography anyway. The face detection works really well, even if the subject is in the background of the image, and the cameras inherent depth of field gets everything in focus. White Balance etc all seem to work just fine but nested as they are, tweaking one item, such as white balance, involved more clicks as sub items take over the menu structure.
The geotagging feature is great to leave on, but is one that I would have given higher priority to in the menus. I would love to be able to one click turn it off and on for photos as I went. Photos from home for example would not be tagged or from a friends place, but out in public tag away is the way I like to shoot. The GPS seems to get a fix very quickly, often one or two shots in a new location and they are tagged. A cursory look at images I have uploaded to flickr shows the location very accurately as well.
Sure, the camera has nice little effects, to be honest the only one I would consider using is the depth of field filter. Even then unless it was something I couldn’t get a feel for a particular shot that I was after. As a rule, and this applies to all photos that you take with your phone etc, don’t and I mean DON’T apply camera filters. Why, because in 12 months time, or even the day after you won’t have the unedited version. The photos off the Incredible should print really well, and unless you have the “clean” version you are going to regret not having it sooner rather than later.
But, words are words, images are images… I let them do the talking… ( ok, with just a touch of voice over…. )
(All images link to full size flickr version )
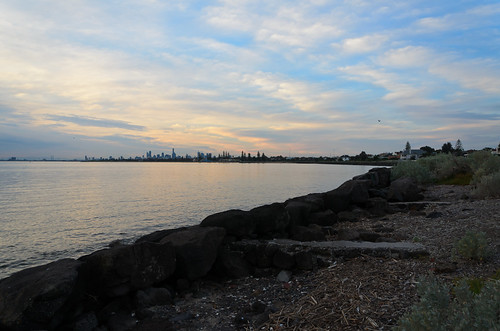
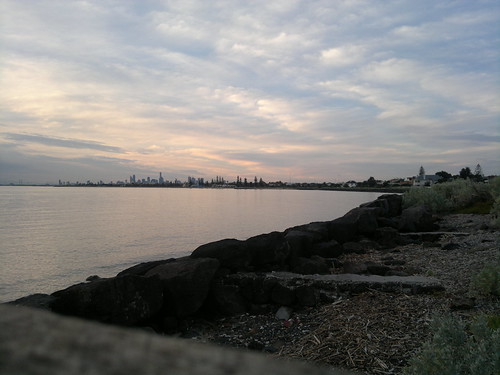
Dull Sunset Comparison
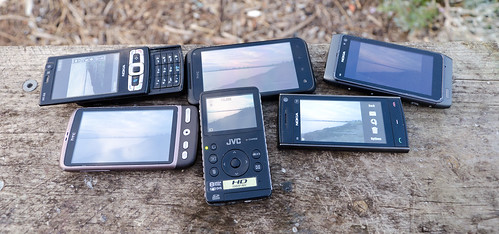
(Plus the Nikon D7000 that took the shot)
Nikon D7000
Nokia N8
HTC Incredible S
Nokia N95-8gb
Nokia X-6
HTC Desire
JVC GC – FM1
|
Xres |
Yres |
ISO |
Exposure |
Focal Length |
Aperture |
Width |
Height |
JPG Size |
Altitude |
Lat |
Long |
| Model – NIKON D7000 |
300 |
300 |
280 |
1/125s |
18.00 mm |
F 5.60 |
4855 |
3216 |
6.4MB |
NO GPS |
|
|
| Model – N8-00 |
300 |
300 |
105 |
1/191.4s |
5.90 mm |
F 2.80 |
4000 |
3000 |
1.4MB |
NO FIX |
|
|
| Model – HTC Incredible S |
72 |
72 |
100 |
No Data |
4.57 mm |
No Data |
3184 |
1904 |
1MB |
0 m |
S 37 53 35.05 |
E 144 59 17.76 |
| Model – N95 8GB |
300 |
300 |
100 |
1/500s |
5.60 mm |
F 2.80 |
2592 |
1944 |
.77mb |
NO FIX |
|
|
| Model – X6-00 |
300 |
300 |
100 |
1/250s |
5.20 mm |
F 2.80 |
2592 |
1944 |
.68mb |
30.50 m |
S37 53 56.12 |
E144 59 5.34 |
| Model – HTC Desire |
72 |
72 |
55 |
No Data |
4.31 mm |
No Data |
2592 |
1552 |
.59mb |
NO FIX |
|
|
| Model – GC-FM1 |
72 |
72 |
100 |
1/109.9s |
3.91 mm |
F 2.82 |
3264 |
2448 |
2.1mb |
NO GPS |
|
|
Notes:
The order is how I judge the devices.
Unsurprisingly the DSLR wins , Next is the amazing Nokia N8, which is simply amazing as a camera on a phone. But given the hardware the Incredible S was against, it did do very well.
DPI, the higher the number the better the print. 72DPI is great for onscreen, 300DPI is better for printing, this is reflected broadly in filesize.
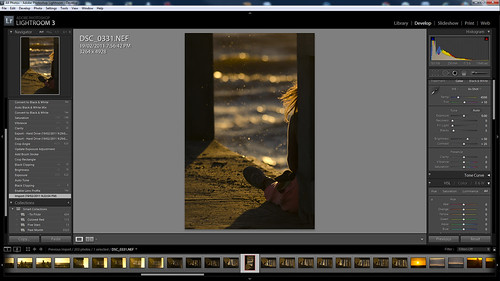
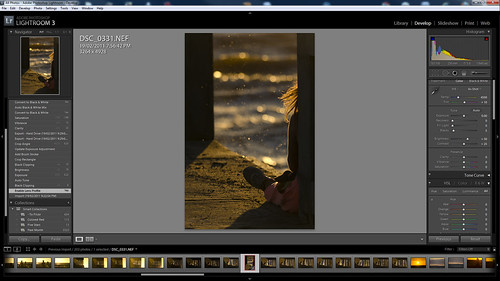
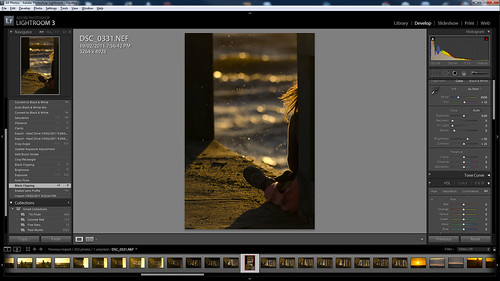
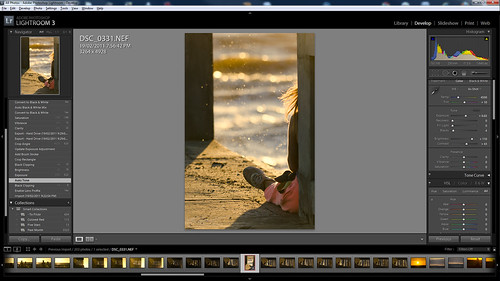
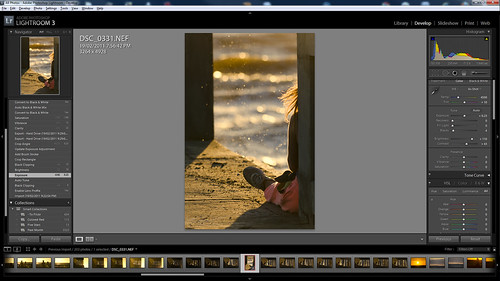
The D7000 shot was taken in RAW and exported via Lightroom 3. I do have the Solmeta GPS for the D7000, but it wasn’t plugged in J, the other phones that didn’t get a GPS fix had not been used in sometime and were not already on, when I did the test.
Both the Desire and the Incredible S are lacking much in the way of EXIF data, so a full comparison of EXIF Data is not possible. Either this is an ongoing firmware issue, or shows the limitations of the HTC Camera System.
Final point, remember that the Nokia N95-8gb is from 2007, so it is the oldest of all off the above devices by a number of years. Still the camera in that phone still stands up.
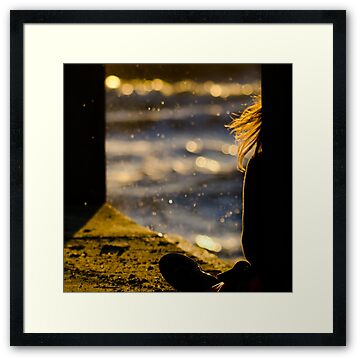
And here are some more shots from the Incredible S
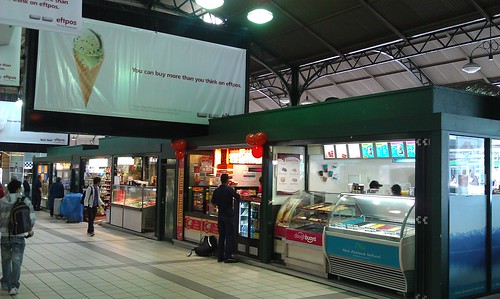
Good light

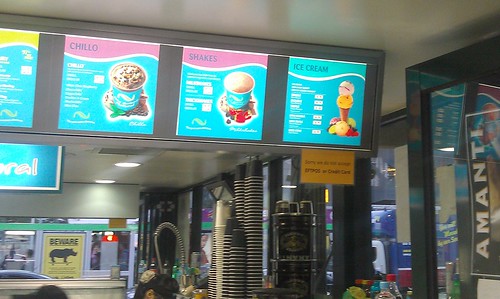
Very dark room

The Macro as I said is fantastic. Add the touch the screen to move the focus point and you can get some great close up photos. The text in these images is nice and crisp.
This is a pretty sunset….
HTC Incredible Sunset
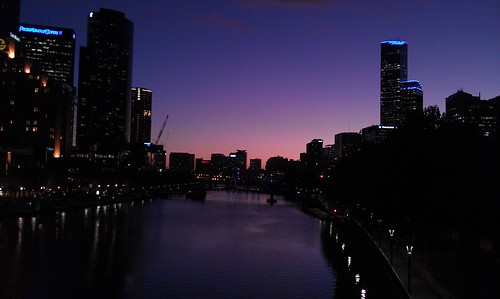
Nikon D7000 Sunset
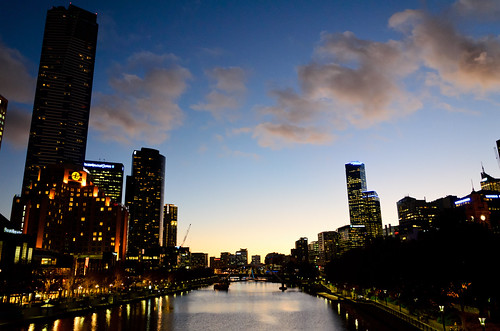
As you can see from above, the HTC made the sky a lot pinker than it was. Whilst most people wouldn’t care.. I do.
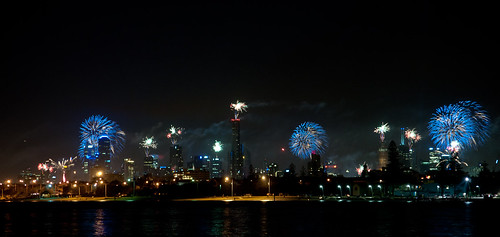
And now some night shots..
First from the HTC Desire

Now two from the Incredible S ( at both ends of the zoom).


And thanks for getting to the end of this rather long post…. The camera as I said is a great point and shoot, and is a good phone camera.
Tags: D7000, HTC - Incredible S, Missing from the Exif, N8, n95, n95, nokia, Photos by Wolf
No Comments »