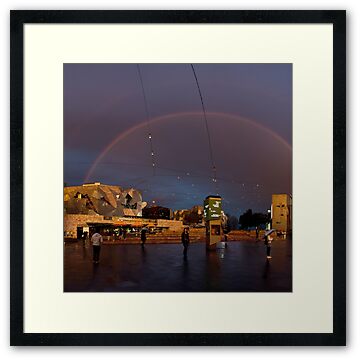
Missing from the Exif: Over the Rainbow – Federation Square
We all know that a huge percentage of photos are right time right place. For me this was even more so yesterday heading home from work.
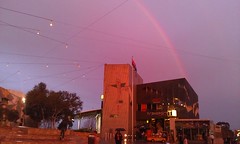 Those that know me know I carry my DSLR camera with me nearly everywhere. Yesterday proves why. The best photo is always the one you get with the camera you have. To that end it is preferable that you have a better camera. So walking through town on my way home mother nature kindly put on a very nice rainbow. ( This shot for example is from my phone)
I had no more than 10min to spend getting shots by which time the rainbow had gone.
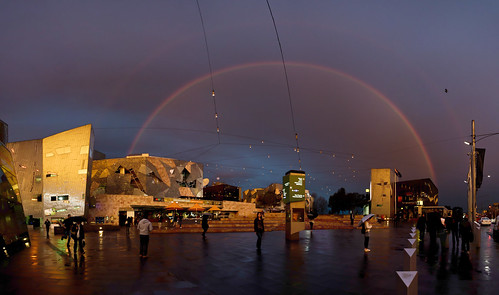
I used a Nikon D7000 with the kit 18-105mm lens. When I could see where the rainbow was facing, I quickly walked up to Fed Square so I had the foreground element I was after. Rainbows are all very nice, but framing a foreground adds an extra dimension to the shot. I didn’t have my 11-16mm Tokina on me, so decided to go for the stitch later panorama series of photos.
When shooting panoramas it really helps to move the camera off Auto Mode as well. This way your shot has even lighting across the whole image. If you shoot them in auto, you will end with dark and light banding as each shot has a different exposure. You can if you have time shoot in manual to pull up the dark parts of the shot if you want, but I was racing the setting sun with this one.
This shot had a bit of post processing as well. Given I was racing time to get all the frames for the panorama as well. In Lightroom all that I did was just apply the lens correction to all of the shots. This takes out the barrel distortion and vignetting as well making stitching much easier. Then I exported all the full size images as JPG’s to Microsoft ICE. I did try Photoshop, but ICE did a much better job of stitching.
Then came the fun part. Images never look the same on a monitor as they do on the back of the camera. In this case all of the Fed Square was to dark. The sky was balanced how I wanted it, but not the people.
In Photoshop I created a Curves adjustment layer, then created a mask for the bottom half of the image. Then I adjusted the curves to help pull out the rich golden tones that I hadn’t pulled up in the raw shots.

All up, about 30 min of processing work for this shot…
I’m a really pleased with the final image and hope you are as well….
(P.S Now you can buy it as a large photographic print as well as in a mounted print…. )