Behind the Exif: Armageddon inbound

The trick to any good weather photo… is wait for it… good weather. And as far as weather photos go, the stormier the weather is, the better the photo will be.
Finally after 3 days of build up of hot and humid weather, Melbourne finally got a decent storm front with the cold change coming in at Monday lunch time.
So here is how I created my Armageddon inbound photo.
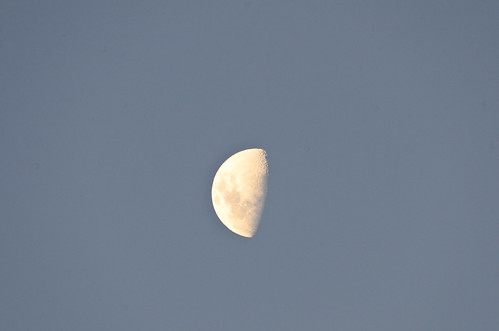
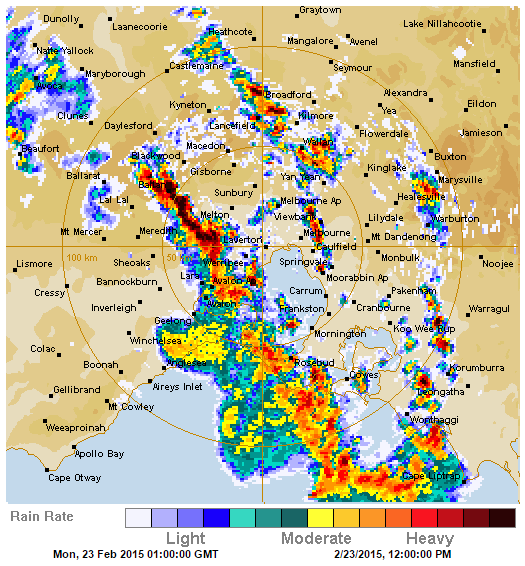 Point 1: Know the weather. This is the radar trace as the storm lines moved towards the CBD, which is about when I knew to head to the photo location. You don’t want to get to your location for a storm front to early, there won’t be anything to see, and you don’t want to get there to late, you might just get very very rained on. And if you are very lucky you will get a nice bit of sun still illuminating your foreground subject matter. 15 to 20 minutes before it is going to rain at your location is a good starting point where the gust front clouds are at their best.
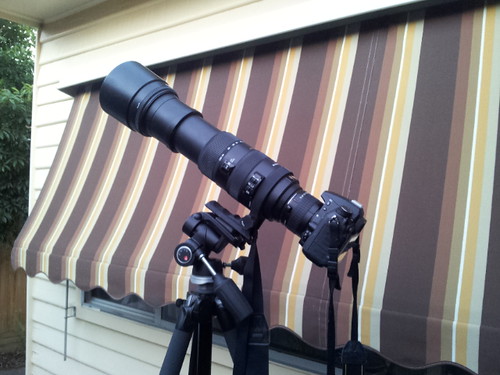
Point 2: To make a good panorama, forget auto-mode on your camera. Manual mode will be your friend down the track. All of the shots I used to make the pano were shot with the same settings. This way it is easier to balance the settings as opposed to having to tweak each photo when shot auto which will have different shutter speed, ISO and aperture.
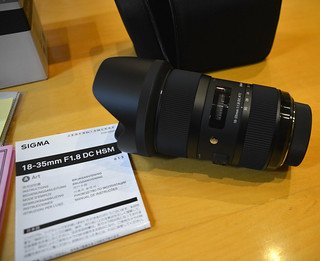
All these shots were taken with the following settings:
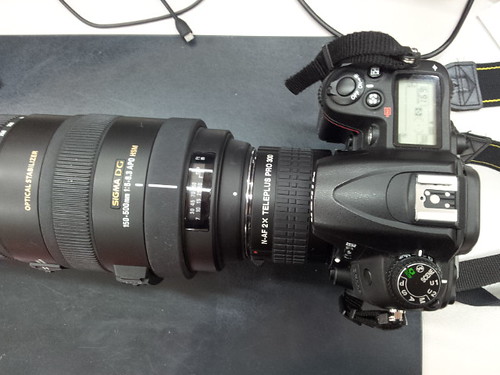
Camera: Nikon D7100
Lens: Sigma 18-35mm
Focal Length: 18mm
Shutter Speed: 125 s
Aperture: f/7.1
ISO: 100
Point 3: You can not take to many photos for a panorama. Lots and lots help, the more overlap between shots the easier it is for software to stitch the images together. However when shooting a storm, you have to move fast, the clouds move a lot in even one minute, so put the camera in landscape mode for shooting and shoot fast and often.
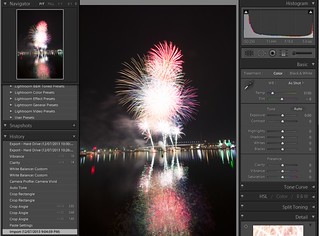
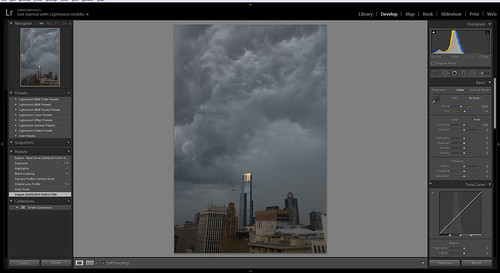
Point 4: Now comes the fun part… putting it together into a single image. My choice of software for this was Adobe LightRoom to process the Raw files… ( you do only shoot Raw don’t you… oh please tell me you don’t just shoot JPEG) and the latest version of Microsoft Image Composite Editor (Yes MICE). I was a huge fan on ICE from version 1, version 2 just recently released is one of the fastest and most flexible panorama software tools out there. So here are the steps.
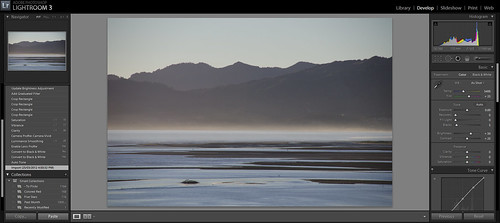
Step 1:
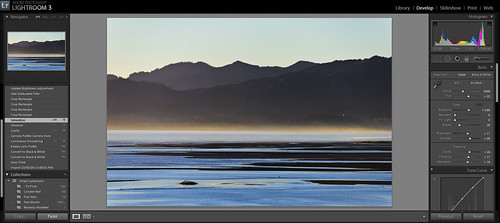
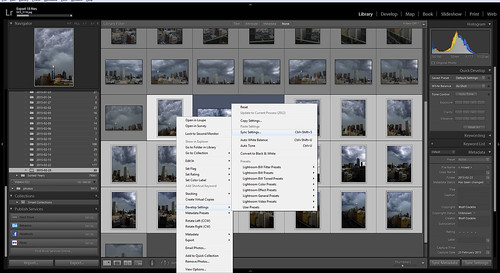
Import all the RAW files into Lightroom, then select just one of the photos to act as the master file for processing.
Step 2:
Lens Correction, this will fix a world of aliments with any image in one quick go.
Step 3:
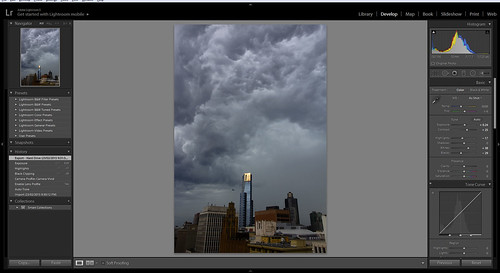
In this case, adjusting the profile to Vivid and a tweak on black, highlights and dropping the exposure from auto-tone, which I feel is always to bright and we are done.
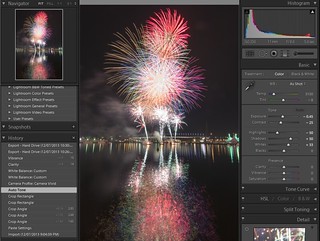
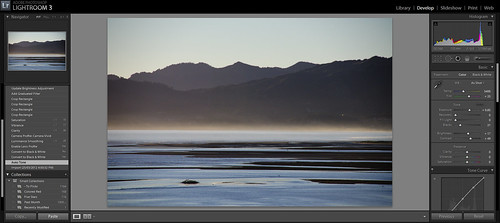
Step 4:
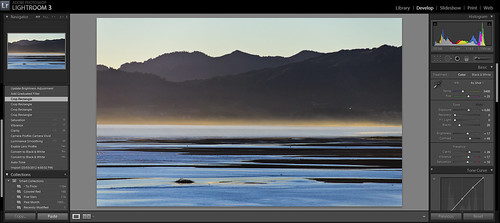
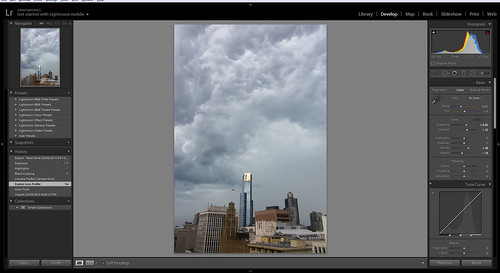
Because all the shots were taken with the same manual settings I can just select the rest of the images in my sequence and Sync all the Develop settings.
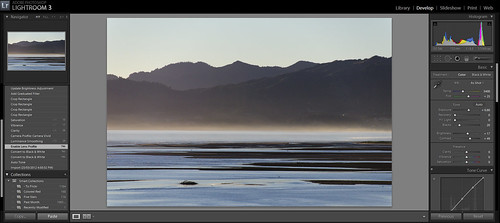
Step 5:
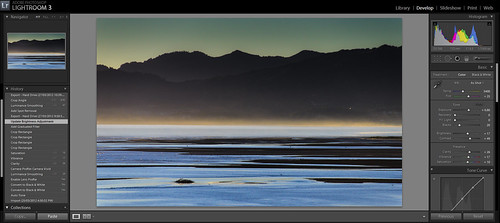
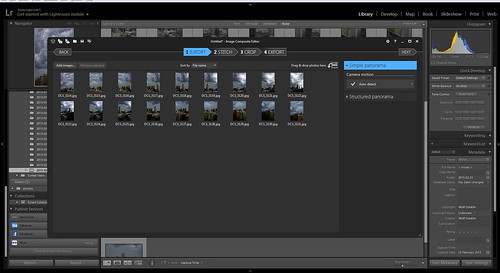
Export out, not just low res versions, but the full 300 DPI versions. Then launch Microsoft ICE and import all the images in one batch.
Step 6:
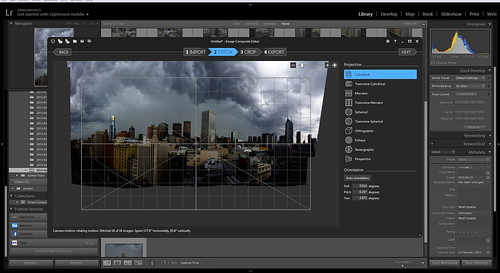
Play with the motion that works best for your panorama, unlike Photoshop, ICE shows you in real-time what your pano will look like, sometimes the default isn’t the effect you want.
Step 7:
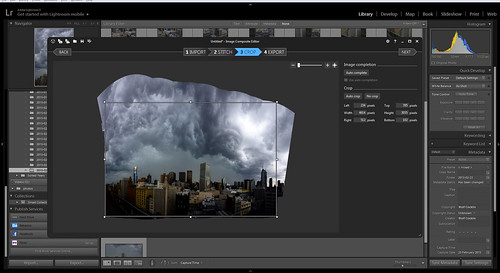
Tweak the Crop, ICE version 2 now does the Photoshop trick of “Content Aware” fills as well which can help.
Step 8:
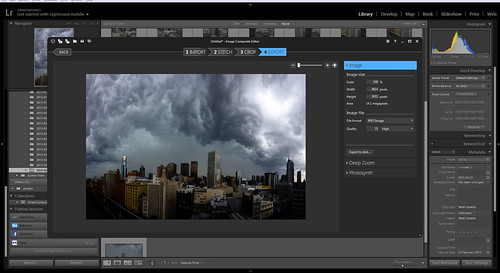
Export out the biggest version you can. No point stuffing around with little JPEG’s… in this case I was starting with 150mb of RAW files.
Step 9:
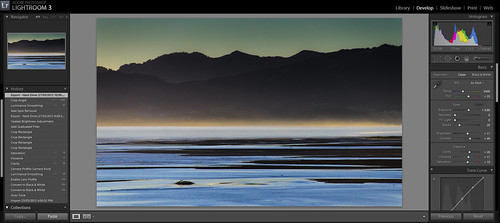
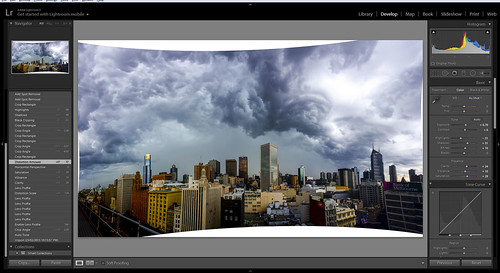
Hello LightRoom again. Save the image from ICE back into the folder you imported the images into LightRoom. Once done, open LightRoom, right click on that folder and choose “Synchronise Folder” and hey presto there is your image. Now tweak away. In this case you can see I played with cropping, angle, lens correction and distortion.
Step 10:
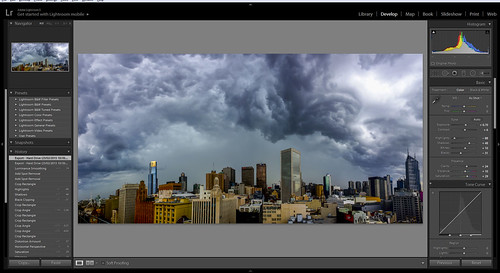
Sit back and marvel at your creation.
Step 11:
Buy this image because it would look great on your wall and I need to buy more camera gear.
![]()
Or a coffee mug, pillow, or laptop or phone case 🙂
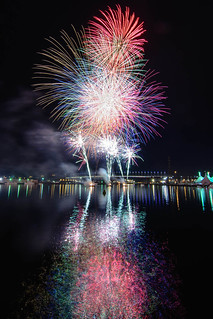
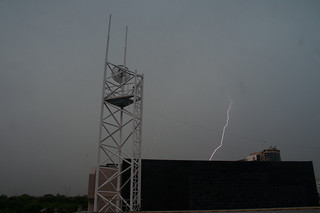
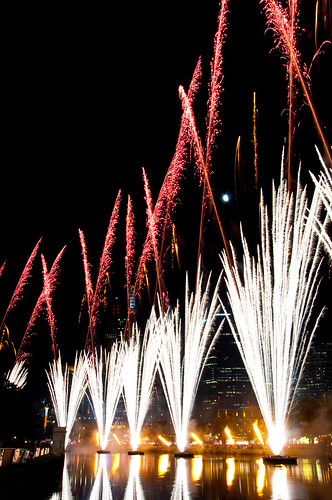
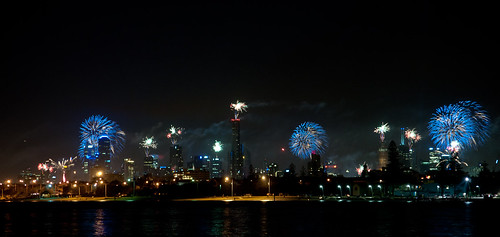
And if you want to see what the storm looked like rolling in…
Did you check point 11…. just asking, as I really do want more camera gear.