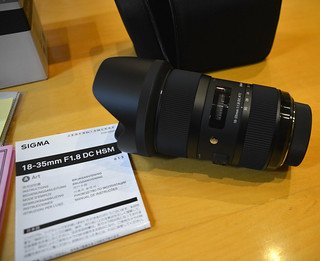
Now I know the Sigma 18-35mm f/1.8 DC HSM Art Lens For Nikon is currently as rare as unicorns at a KKK march, but now I finally have one, and wow. Imagine the shock of seeing that analogy, and you start to get a feel for this lens.
I have over the years played with a wide variety of lenses and camera bodies, but what Sigma have produced with this lens is nothing short of Jesus walking on water, whilst singing Karaoke to the Pet Shop Boys “Opportunities (Let’s Make Lots of Money)” because with this lens, that is what they are about to do. This despite the lens having an RPP of $799 which is remarkably cheap for what it is. ( When announced rumours placed it at over $1200)
Of course, there is one major issue, firstly to make lots of money they are going to have to ship this lens. I waited six months for it, and my supplier only got 4 on the day I got mine. I thought it was an Australian only problem, with us often being last in the pecking order. However I noticed that there are a lot of other countries complaining about the late delivery of the Nikon mount as well.
This does mean either Sigma had a great prototype that they couldn’t mass manufacture, or they simply didn’t make enough. Only time will tell which is the answer to this question.
But on to the lens… wow, it is heavy.
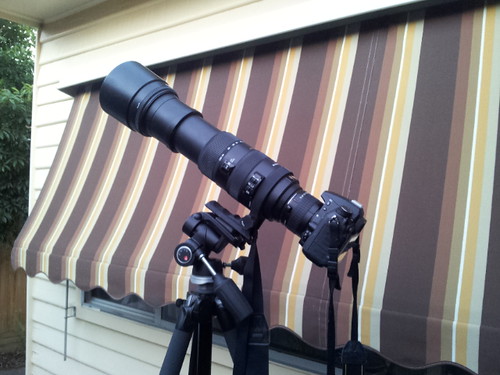
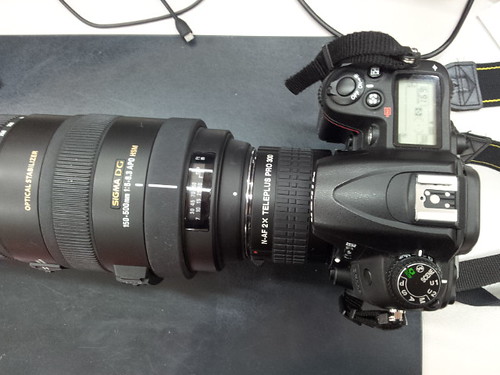
 Heavy and long, to the point that you will end up holding the lens a lot more than you thought you would. I find my hands supporting the lens, not my D7100 body. Lucky the ergonomics of the lens are such that this is very comfortable. When you think that a Nikon D7100 is 765g inc battery and the Sigma 18-35mm lens is 810g you start to see why. Even my trusty Tokina 11-16mm F/2.8 is only 548g. Still it is a light weight to my Sigma 150-500mm which tops the scales at 1910g. Sure it is under a kilo, what does that matter? Trust me you will notice it the first time you sling your camera over your shoulder. Drop it in your camera bag for a few days it will become more than a noticeable edition.
Yet this weight has to be balanced against what the lens does. I must admit, I am having sad tinges that my Nikkor 50mm F/1.8 is leaving my camera bag as a day to day lens. On a DX body, sure the “75mm” lens is nice, but why do I need it when I have my wide to portrait lens already.
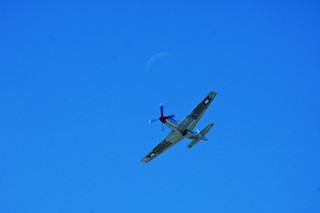
As for shooting with it. I’ll take my “wow, it is heavy line” and shorten it to “wow”. It is so sharp, so fast and so suited to the DX format it is a must buy lens for any DX shooter. With a focal length just shy of 2cm from the end of the lens you can get so close to a subject and yet so wide it is astounding.
 This lens is perfect for shooting my children and I can see it will be a great favourite with the “food bloggers” as well. Yes it is that versatile. Add to that the constant F/1.8 and you have a low light master as well.
Given I have left this lens on my camera for a week now, I am sure that my camera body and new lens have run off and got married in a secret ceremony that I was unaware was legal in my home state until now.
It is not without its faults. Leaving aside the shipping/manufacturing issues, there a things to take into account. Firstly, I just feel the lens hood doesn’t mount as clean as it should. I find myself taking the petal hood off just fine, but mounting it, seems to take 2 times to get it seated properly.
Another issue is if you don’t have an external flash, you will need to fork out for one. This lens is so long it will leave a shadow in every shot, even without the lens hood on if you use the pop up flash. ( Not a problem for me, I have the SB700 already 🙂 )
The other issue is that it is so fast, you have to compensate for it. I have a lot of shots of fast moving objects where the lens and camera go, oh you want us to focus on that, na, we wont. A bit of that is user error and a lot of that is getting used to it as well.
Of course if Sigma had made an 11-500mm F/1.8 lens I would buy it, but given it would weigh more than my car, I see there maybe a few issues here. I still have my Tokina for Ultra wide shots, but this lens is already my go to lens for a wide variety of photos.
Nikkor, Sigma has thrown down a gauntlet, told you “you have been served’, and “ow that burns” as a comment. I love your cameras, but Nikon, sorry, this is how you make and sell a great lens.
My recommendation is if you are a DX shooter, buy this lens, just don’t expect it in a hurry.
Now to get my hands on some of the other Sigma Art Series Lenses, if they are as good as this, they will be fantastic.
And here is my Flickr Set for the Sigma 18-35mm Lens.
Technical Specs: ( Via sigma.com )
| Lens Construction |
17 Elements in 12 Groups |
| Angle of View (SD1) |
76.5º-44.2º |
| Number of Diaphragm Blades |
9 |
| Mininum Aperture |
f16 |
| Minimum Focusing Distance |
28 cm |
| Filter Size (mm) |
72mm |
| Maximum Magnifications |
1:4.3 |
Dimensions
(Diameter x Length) |
78mm x 121.0mm |
| Weight |
810grams |
Tags: D7100, Missing from the Exif, Photos by Wolf
1 Comment »

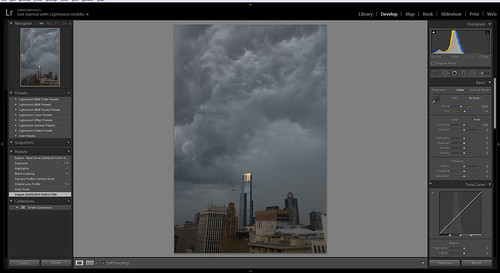
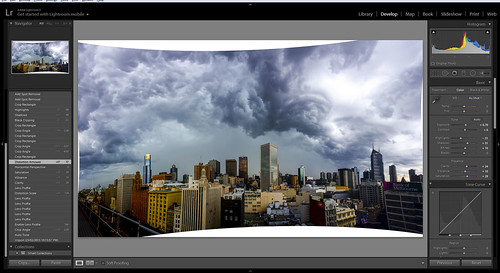
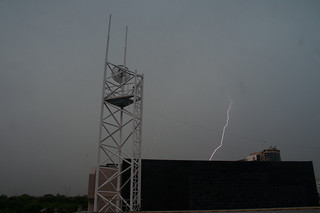
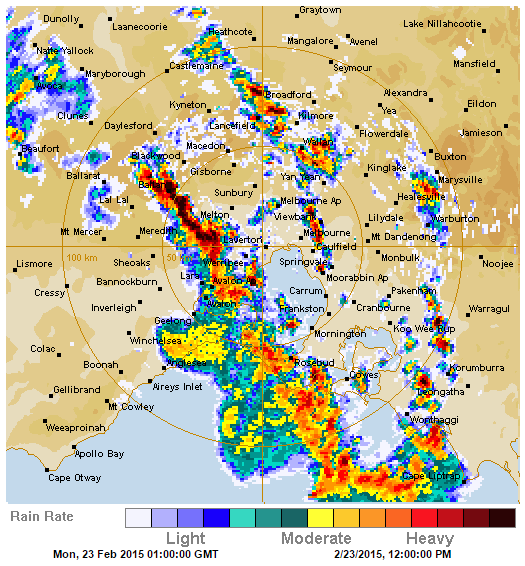 Point 1: Know the weather. This is the radar trace as the storm lines moved towards the CBD, which is about when I knew to head to the photo location. You don’t want to get to your location for a storm front to early, there won’t be anything to see, and you don’t want to get there to late, you might just get very very rained on. And if you are very lucky you will get a nice bit of sun still illuminating your foreground subject matter. 15 to 20 minutes before it is going to rain at your location is a good starting point where the gust front clouds are at their best.